2/7/2025 3:13 AM
When your Daikin air conditioner fails to work properly, you may experience a rush of anxiety, particularly during the intense heat of summer. Luckily, numerous problems can be identified and even fixed without needing to reach out to a specialist. This manual for Daikin repair service aims to help you understand typical error codes and provide useful DIY advice to restore your system to optimal functioning.
A prevalent problem encountered by users is when the Daikin air conditioner shows an error code. An error code may show up on the device or the remote and offers useful insights into what the issue could be. Let’s look into some common error codes and their potential implications for Daikin repair service.
Error Code A1: This indicates an issue with the internal PCB (Printed Circuit Board).Generally, this necessitates a thorough examination of the wiring or connection problems. You may want to look for any loose connections that can be fixed by hand.
Error Code J6: This signifies a short circuit or an open circuit at the thermistor. DIY fans could measure the thermistor’s resistance to determine if it deviates from the specifications outlined in the AC's manual. It may be necessary to recalibrate or replace the thermistor in this situation.
Prior to starting any repairs, make sure to prioritize your safety by unplugging the power source. This straightforward measure is essential in any Daikin repair service undertaking.
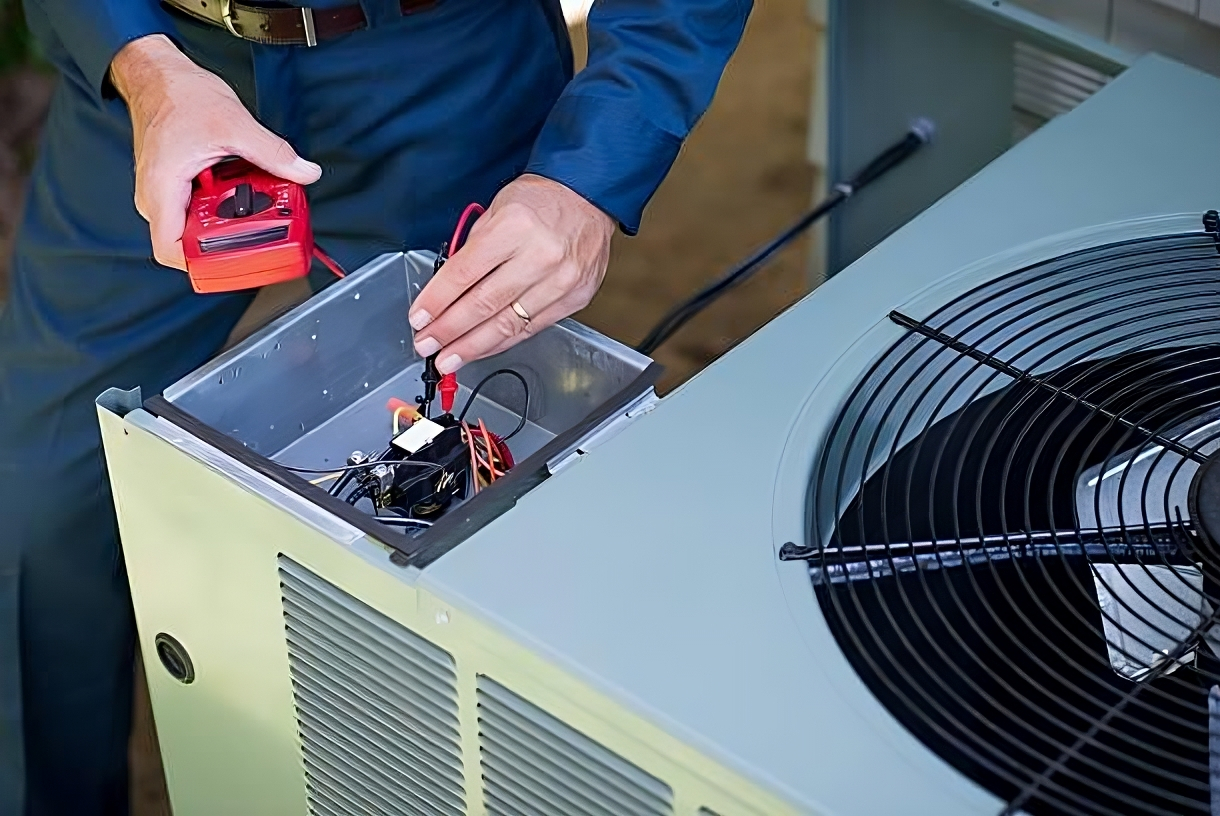
For easier problems, a common DIY solution is tackling airflow issues. If your air conditioner isn't cooling your house effectively, inspect your air filters. Obstructed filters may result in inadequate airflow, forcing the system to exert more effort than necessary, which could lead to overheating and subsequent malfunctions. Cleaning or changing filters can frequently fix these problems.
If your system is producing strange sounds, loose components might be the cause. Examine the unit for any parts that may require tightening or potential replacement. Ensuring the system's screws and fasteners are tight is a simple method to avoid unnecessary wear and tear.
Another frequent problem is the thermostat settings. If your Daikin unit is not cooling effectively, verify that the thermostat is adjusted accurately. Occasionally, a minor tweak in this area can result in greatly enhanced performance without the need for extensive Daikin repair service.
Although these suggestions can assist in fixing several minor problems, it's crucial to know when to contact a professional Daikin repair tech. Issues related to refrigerant leaks, significant wiring problems, or persistent error codes may exceed the capabilities of DIY and necessitate expert knowledge and equipment.
By grasping these elements of Daikin repair service, you can address small issues confidently and recognize when professional assistance is required, making sure that your air conditioning system maintains a comfortable and cool environment in your home.